Excel How To Make Line Graph
Excel How To Make Line Graph - Have you ever needed to present data in a way that’s easy to analyze? If you’re dealing with numerical information, a line graph can be a great way to do just that. Fortunately, creating a line graph in Excel is easy and intuitive. In this post, we’ll cover how to create a line graph in Excel, including tips on formatting, customizing, and analyzing your data.
Tips for Creating a Line Graph in Excel
TIP 1: Choose the right chart type
Excel offers a variety of chart types, including column, bar, area, pie, and line charts. When choosing a chart type, consider the type of data you’re working with, as well as how you want to display it. If you’re working with time series data or continuous numerical data, a line chart might be the best option.

TIP 2: Format your chart effectively
Once you’ve created your chart, it’s important to format it effectively. This includes formatting the axis labels, data labels, chart title, and other features to make the chart easy to read and interpret. You can also change the chart type, add data labels, adjust the legend, and customize colors and styles to suit your needs.
Ideas for Using Line Graphs in Excel
IDEA 1: Track changes over time
One of the most common uses of line graphs is to track changes over time. For example, you might use a line graph to track sales or revenue over a period of months or years. This can help you identify trends and patterns, as well as track progress towards your goals.

IDEA 2: Compare multiple data sets
Another way to use line graphs is to compare multiple data sets. For example, you might use a line graph to compare sales data for different products or to compare the performance of multiple marketing campaigns. By using different colors or line styles for each data set, you can make your chart easy to read and interpret.

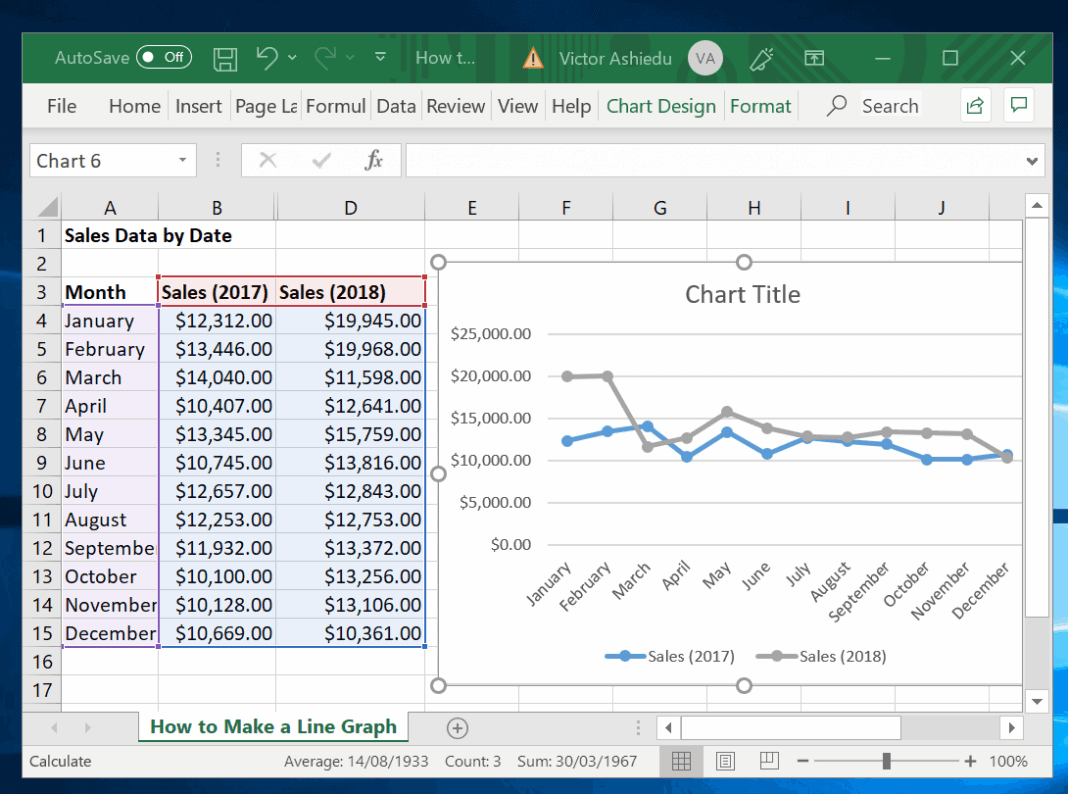
How to Create a Line Graph in Excel
STEP 1: Enter your data into Excel
The first step in creating a line graph in Excel is to enter your data into a spreadsheet. Make sure that you have one column for your x-axis data and one or more columns for your y-axis data.
STEP 2: Select your data range
Once you’ve entered your data, select the range of cells that you want to include in your chart. This should include both the x-axis and y-axis data.
STEP 3: Insert a line chart
To insert a line chart, navigate to the “insert” tab on the Excel ribbon and select the “line” chart type. You can choose from a variety of line chart subtypes, including 2-D line, stacked line, and 100% stacked line charts.
STEP 4: Customize your chart
Once you’ve created your line chart, you can customize it to suit your needs. This includes changing the chart type, adding labels and titles, adjusting the colors and styles, and more.
STEP 5: Analyze your data
The final step in creating a line graph in Excel is to analyze your data. Use the chart to identify trends and patterns, and consider using other tools and features in Excel (such as pivot tables and conditional formatting) to get even more insights.
Hopefully this post has given you a good overview of how to create a line graph in Excel, as well as some tips, ideas, and best practices to use along the way. With a little bit of practice, you’ll be able to create great-looking and informative line charts in no time!Find more articles about Excel How To Make Line Graph


Komentar
Posting Komentar